This article is for the average internet user. We assume no familiarity with technical terms. We also assume your time is valuable, and will pack this into a 10-minute read time.
What is internet service?
Short version: internet service is what brings WiFi to your home.
Internet providers like Xfinity, Spectrum, and Centurylink, charge a monthly fee to carry data back and forth between your home and the internet.
This service is usually provided over physical wires on telephone poles. It may also be provided wirelessly or even via satellite.
Step 1: Learn About Your Internet Options
When buying internet service, the type of service you buy matters more than the specific company you buy from.
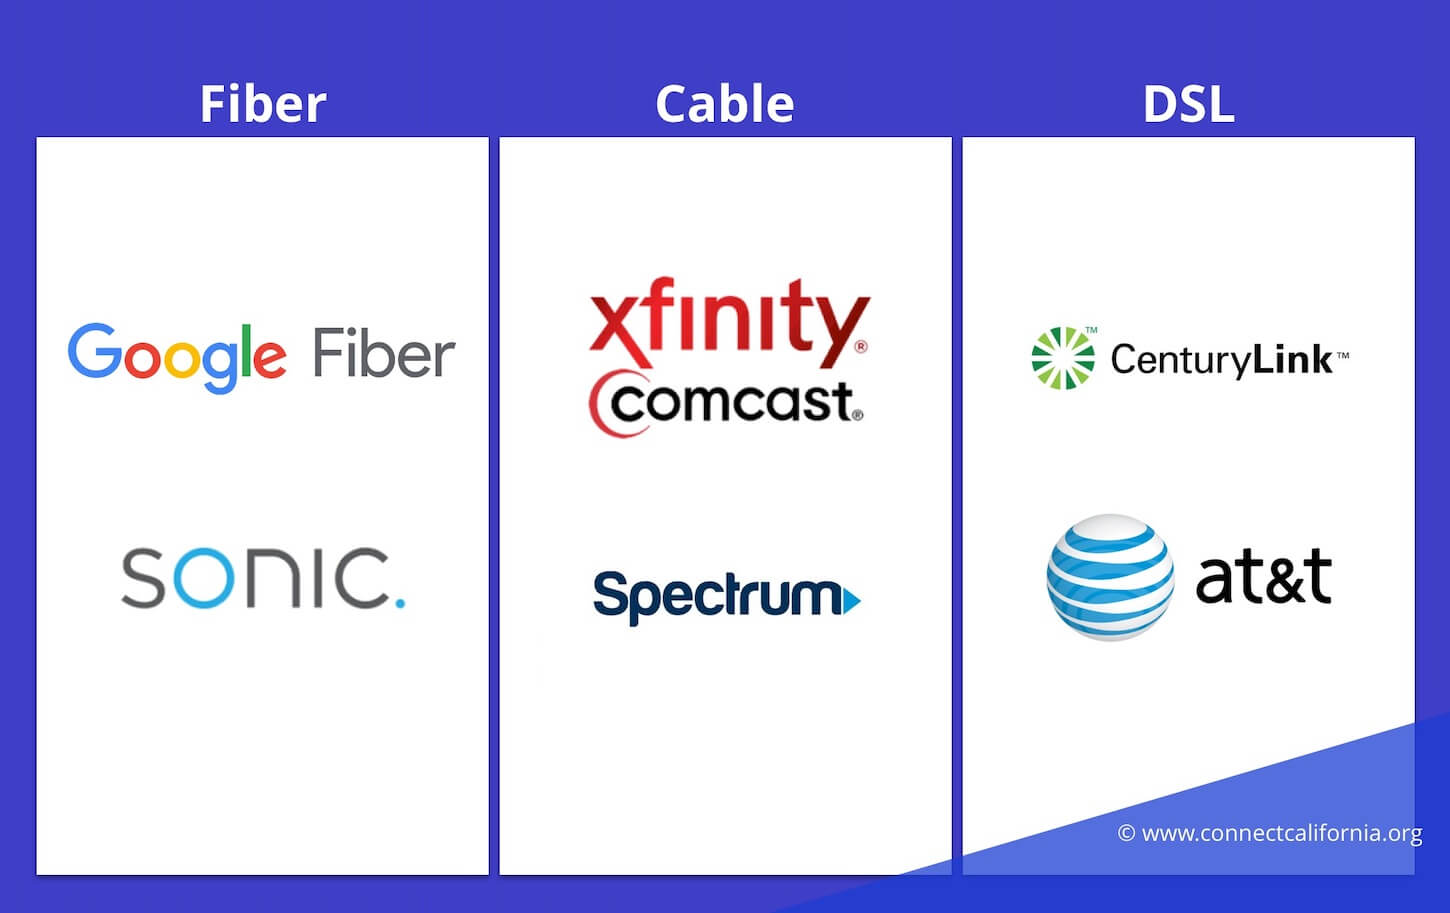
Wired internet service comes in three types:
- Fiber: internet over high-speed fiber lines. 300 Mbps to 1000 Mbps is normal.
- Cable: internet over cable TV lines. 200 Mbps to 800 Mbps is normal.
- DSL: internet over telephone lines. 5 Mbps to 100 Mbps is normal.
Fiber is the best option with the highest performance. Cable is a decent fallback. DSL is workable, but you should really only get it if other options are unavailable.
Most homes have two wired options — usually one cable provider and one DSL provider. When fiber is available, it usually replaces the DSL line.
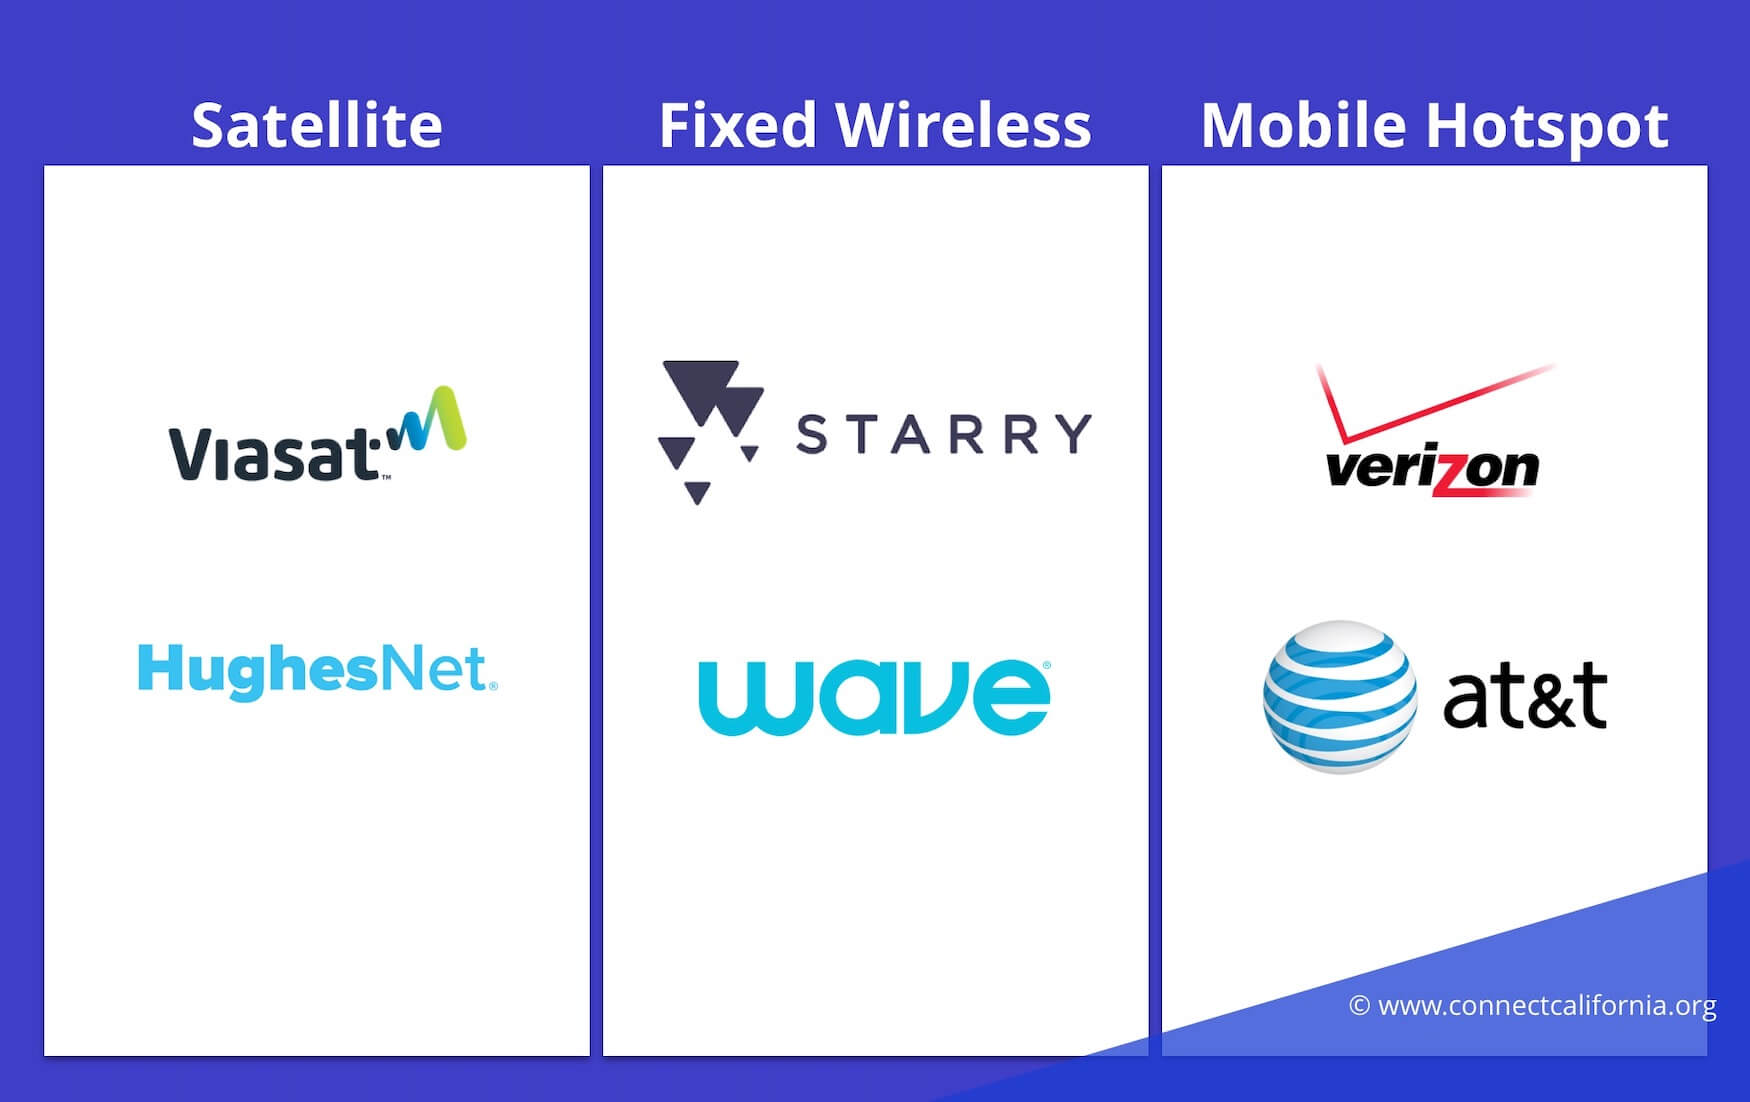
For locations where wired internet is unavailable, you have three fallback options:
- Fixed wireless
- Satellite internet
- Mobile hotspots.
Wireless service is more common in rural areas, where wired service is sometimes unavailable. If this is the case, try and find the wireless plan with the most data allowance, because wireless plans tend to have limits on how much data you can use each month. If you’re in an area where satellite internet is the only option, you’ll be choosing between HughesNet and Viasat.
Step 2: Determine what internet speed you need
When you look at plans on provider websites, they’ll be listed in terms of their maximum download speed.
Internet speeds range from 1–1000 Mbps. Plans at the higher end of the range are often marketed as “gigabit,” which is tech jargon for 1,000 Mbps.
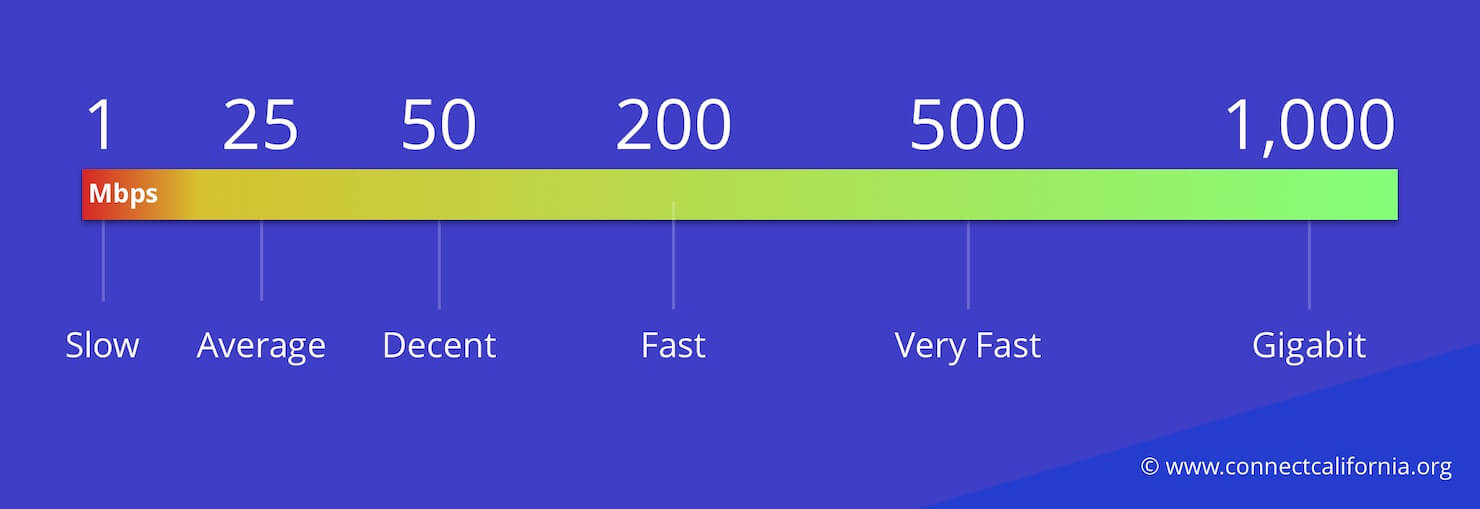
25-100 is the minimum you should be getting, and is enough for 2–3 average users. Homes with 4–5 users should look at plans in the 100–400 Mbps range.
Larger households — or users with multiple HD or 4K flatscreens and cloud-connected home security systems — should just get the fastest option they can afford. When available, fiber plans are usually just $10–20 more expensive than competing cable or DSL plans, and may even be cheaper.
For more on this topic, see our page on how to choose the best internet speed.
Note: don’t forget to compare the upload speed
Internet providers advertise by download speed only. They do this because most internet connections are “asymmetrical,” meaning the upstream speed is about 1/10 of the download speed.
It may be absent from marketing materials, but the upload speed does matter for uses like video chat or sending large files from a home office.
So, check the fine print for upload speed and try to get at least 15–25 Mbps upload.
Example file download times
To put this in concrete terms, let’s say you’re trying to download a large 6 GB file, such as a game or video. On a 10 Mbps connection, it’ll take an hour and 25 minutes. With 100 Mbps, it’ll take 8 minutes. With a “gigabit” 1,000 Mbps, it’ll only take 51 seconds.
The same is true for the upload; let’s say you’re uploading that video file to YouTube, with an internet connection of 100 Mbps download and 10 Mbps upload (which is common for cable). It’ll take 1 hour and 25 minutes to upload the video, even though it would only take you 8 minutes to download it.
If you want fast upload speeds, the best options is a “symmetrical connection.” Most fiber plans are symmetrical, meaning the upload speed is the same as the download speed.
Step 3: Decide if you want TV or phone bundled in
Most internet providers will aggressively attempt to sell you bundled services like TV and home phone.
The price may look appealing, but it almost always rises dramatically once they have you on the hook and add fees. Avoid it if you can.
The main reason to consider TV is if you need a huge range of premium sports channels — but even then, you can purchase virtually all of them a la carte or through a streaming service.
Step 4: Compare pricing, fees, and fine print
Before we get into finding and comparing our plan options, make sure you’re aware of these common caveats with internet service:
- Contracts. Especially with TV, you sometimes have to sign a 1–2 year contract to get “the best price.” If you cancel before it’s over, they’ll charge you a fee. Advice: Try to get contract-free service if possible.
- Promotional pricing: Almost all providers will sign you up on a “new customer rate” that rises after the first year. Advice: Find and compare the final price, not the promo price.
- Equipment Fees: Most providers charge $5–15/month for leasing the WiFi router. Be sure to check this fee and consider it when comparing pricing. Advice: you can sometimes drop the fee by using your own WiFi router. They cost around $60–100 new.
- Miscellaneous Fees: Your first bill is likely to include “activation fees,” “installation fees,” and other one-time costs. You can sometimes argue these off if you sign up in-person or on the phone. Also be aware of fees associated with cable TV bundles, like regional sports fees. Advice: check the fine print for fees that aren’t included in the sticker price.
Step 4: Find and compare options at your address
Now that you understand what you’re buying, and all the caveats to watch out for, it’s time to figure out the specifics at your building. I’m going to walk through an example to make this as clear as possible.
Enter your address to the FCC’s search tool at broadbandmap.fcc.gov.
This will zoom in on your block and show you a list of provider who registers service nearby. Keep in mind this is just “in the area” information, not actually checking the address.
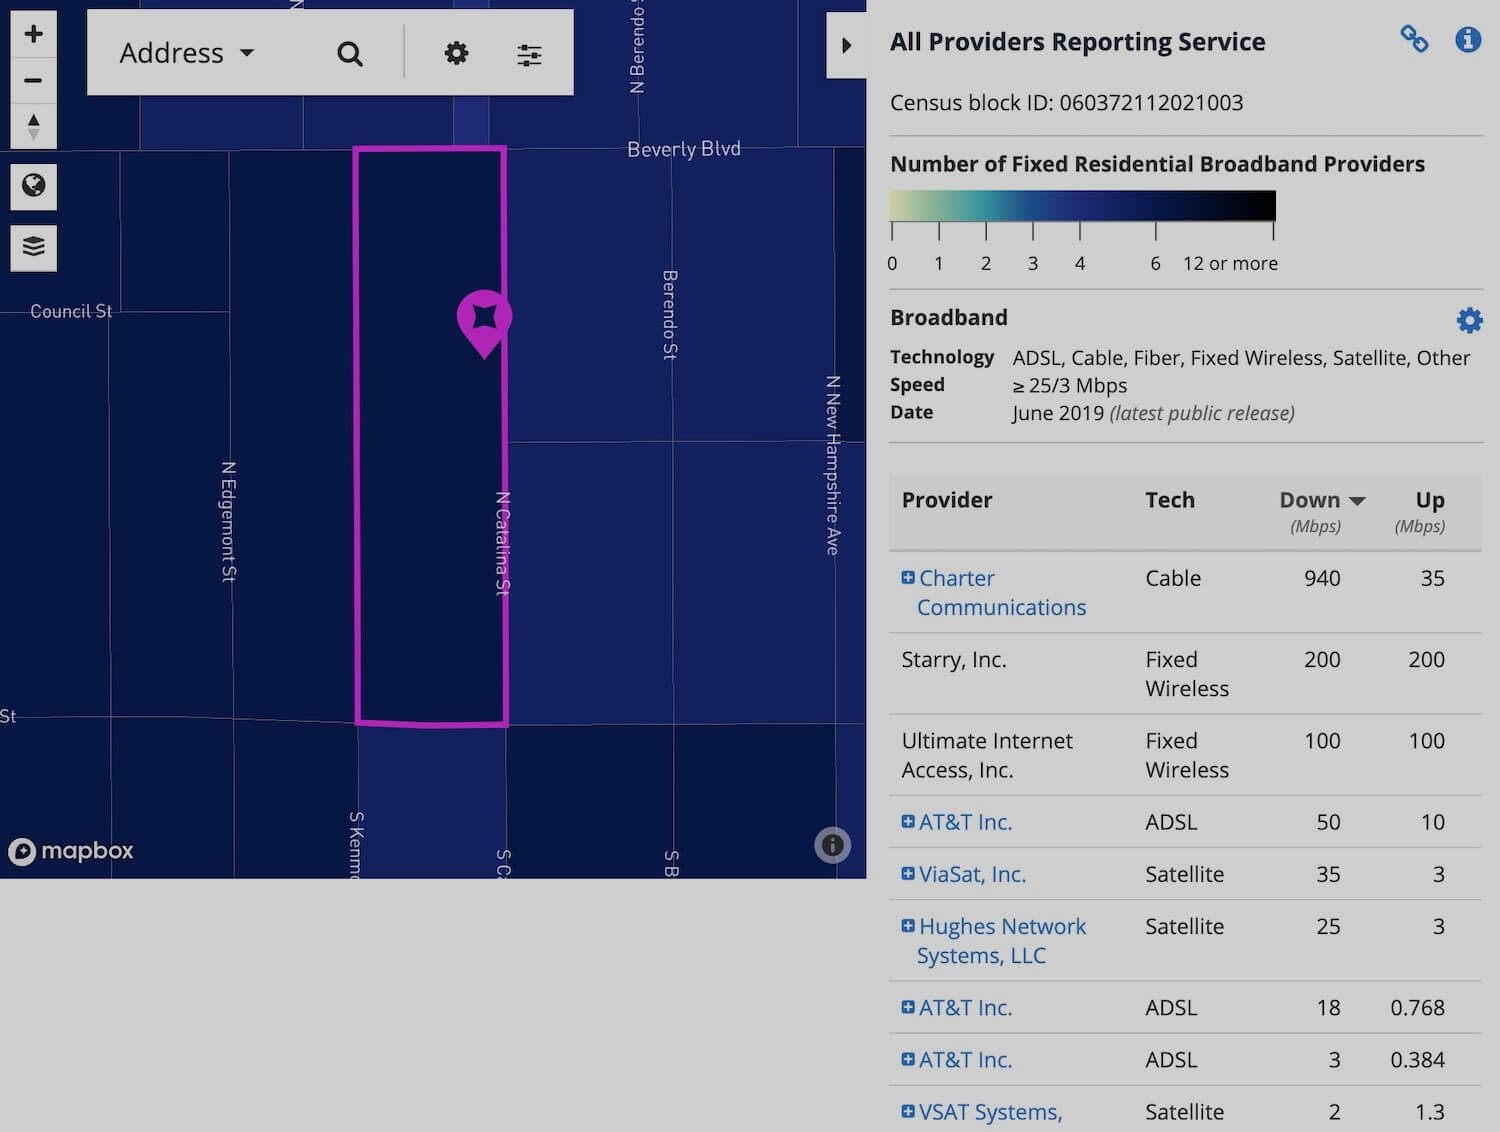
We can also see satellite options but like I said before, do not get satellite unless you live out in the country and absolutely have to.
When comparing options, we want to prioritize fiber, falling back on cable, then falling back to DSL, as mentioned at the beginning. So, it looks like we’re likely going with Spectrum in this example.
First, we need to check the website of each provider to confirm that they service our specific building. We might have to call in some cases, but in this case AT&T and Spectrum both have address checks on their site.
I went ahead and checked Starry, because it’s actually got a good reputation for internet in cities. But they weren’t at this address. I can see that Spectrum offers 200–940 Mbps download speed plans, while AT&T only offers up to 100 Mbps, both for the same sign-up price. I can also see that they both jump to a final price after 12 months — but at least they both are contract-free.
So, the question for this location is: does twice the download speed justify an extra $5/month averaged out over two years of service? That part is up to you, if it were me I’d pay the extra $5/month and use Spectrum in this case.
Step 5: Sign up for service
You have three options for signing up for internet service:
- Over the phone
- Online order
- In person at a store
I recommend online for convenience, or in-person if you want to try and argue off the activation fee and get your equipment immediately for self-install.
Step 6: Schedule an installation or self-install
You have three options for installing your internet service:
- Technician install: Set a date when you sign up, and a cable guy will show up to do it for you. Note that this usually costs around $99, and will likely be required if you bundle TV service. They’ll give you a 2-hour window. Advice: allow the whole day for the installer to show up, as they are often late.
- Self-install kit: Most providers offer self-install kits with a modem, router, and instructions. It’s very simple and they can either mail it or have you pick it up if there’s a local store.
- Self-install with your own modem and router: If your provider allows you to use your own equipment, you can provide the MAC address of your modem over the phone and get service activated instantly. This is only recommended for “techies” however.
Step 7: Configure your WiFi and connect devices
Setting up WiFi in your home is more simple than it looks. The details vary by provider, so follow the instructions provided carefully.
If the service is new, ensure the technician installs the router near the center of the home if possible.
Most routers broadcast two WiFi networks: 2.4 GHz and 5 GHz.
Connect your newer and priority devices to the 5 GHz network, and your older or less important devices to the 2.4 GHz network.
If you’re having trouble connecting to the 5 GHz WiFi, try the 2.4 — it is slower, but has a wider “bubble” of coverage around the router.
Step 8: Test your new service speed regularly
Finally, run speed tests at least a couple times during your first month of service.
Most plans will let you cancel in first 30 days if unsatisfied, so it’s important to identify issues before you’re on the hook for a contract.
I hope this article helped you feel confident about choosing and ordering internet service.